For both my poster and digipack, I had to take photographs of my actress. I took the majority of my photos whilst I was filming at St. Catherines breakwater and woods. I also took photos at St. Ouens beach, where she wore a different outfit, which will add variety to my shots.
Here are contact sheets of the pictures:
St. Ouens...
Overall, I prefer the pictures I took at St. Catherines breakwater and woods, as I like the lighting and location. I also prefer the outfit chosen, as I feel it suits the conventions of an acoustic/indie music video. For my poster and digipack, I have decided to use most of the pictures taken at St. Catherines. However, I will also use some locational pictures from St. Ouens to add variety.
Using a 4 panel layout template and CD cover template, I was then able to create my digipack on InDesign.
InDesign allowed me to create a digipack that resembled I looked at in my research section. For example, I used the 'Type on a path' tool on a circle shape in order to put the text around the rim of the CD.
In order to make my digipack look as professional as possible, I downloaded a font that was similar to the conventions of an acoustic/indie artist. On dafont.com, I download the font 'Sunshine in my soul', as acoustic and indie artists in my research used a similar font.
Also, I download brush effects for PhotoShop from www.brusheezy.com so I could create an interesting effect.
For my digipack, I used a continous colour scheme so it looked professional. I used the same font for all information, as I felt it made it look more professional. Additionally, I added a barcode, music production company logos, the artists website address and copyright info, to finish.
For my poster, I used a picture from a different location so that there was variety in colour. I included the HMV logo, to make it look as though it was a real HMV poster.
I also used the conventional HMV font.
I also used the same font that I used for the digipack to show it is her signature font.
Music Video:
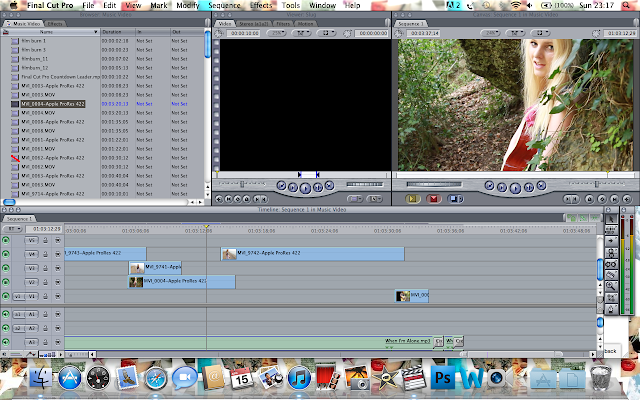
I compressed my footage, using Compressor, in order to speed up the process when I was editing in Final Cut Pro, as it meant that I didn't have to keep rendering the footage. Once I had dragged the footage I wanted to compress into the programme, I chose Apple ProRes 422 as the setting.
Once all footage was compressed, I imported the footage into Final Cut Pro so I could edit it. I made sure that it looked like my actress was lip-syncing to the song and I also created made the pace of shots quite fast so it matched the beat of the music.


No comments:
Post a Comment